

A
Quiet and natural
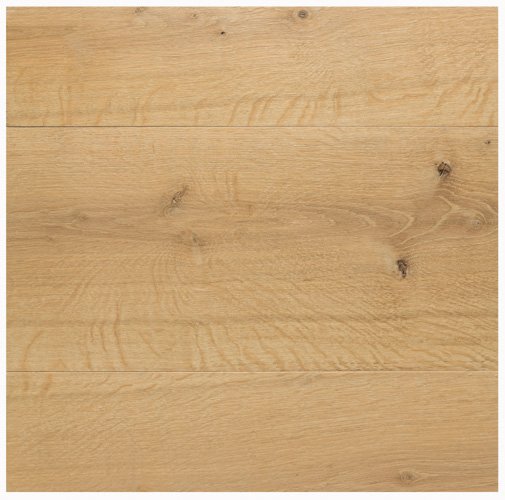
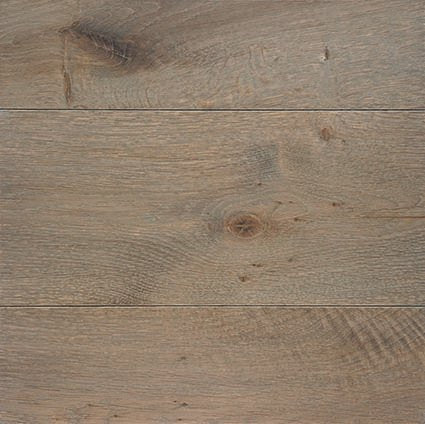
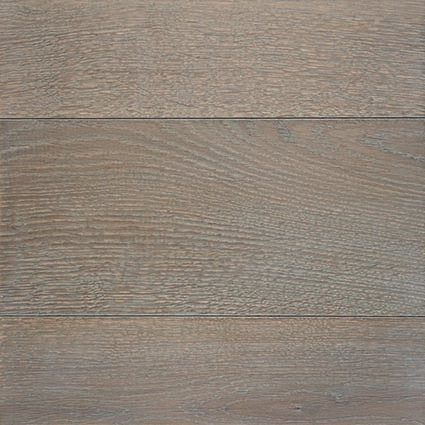
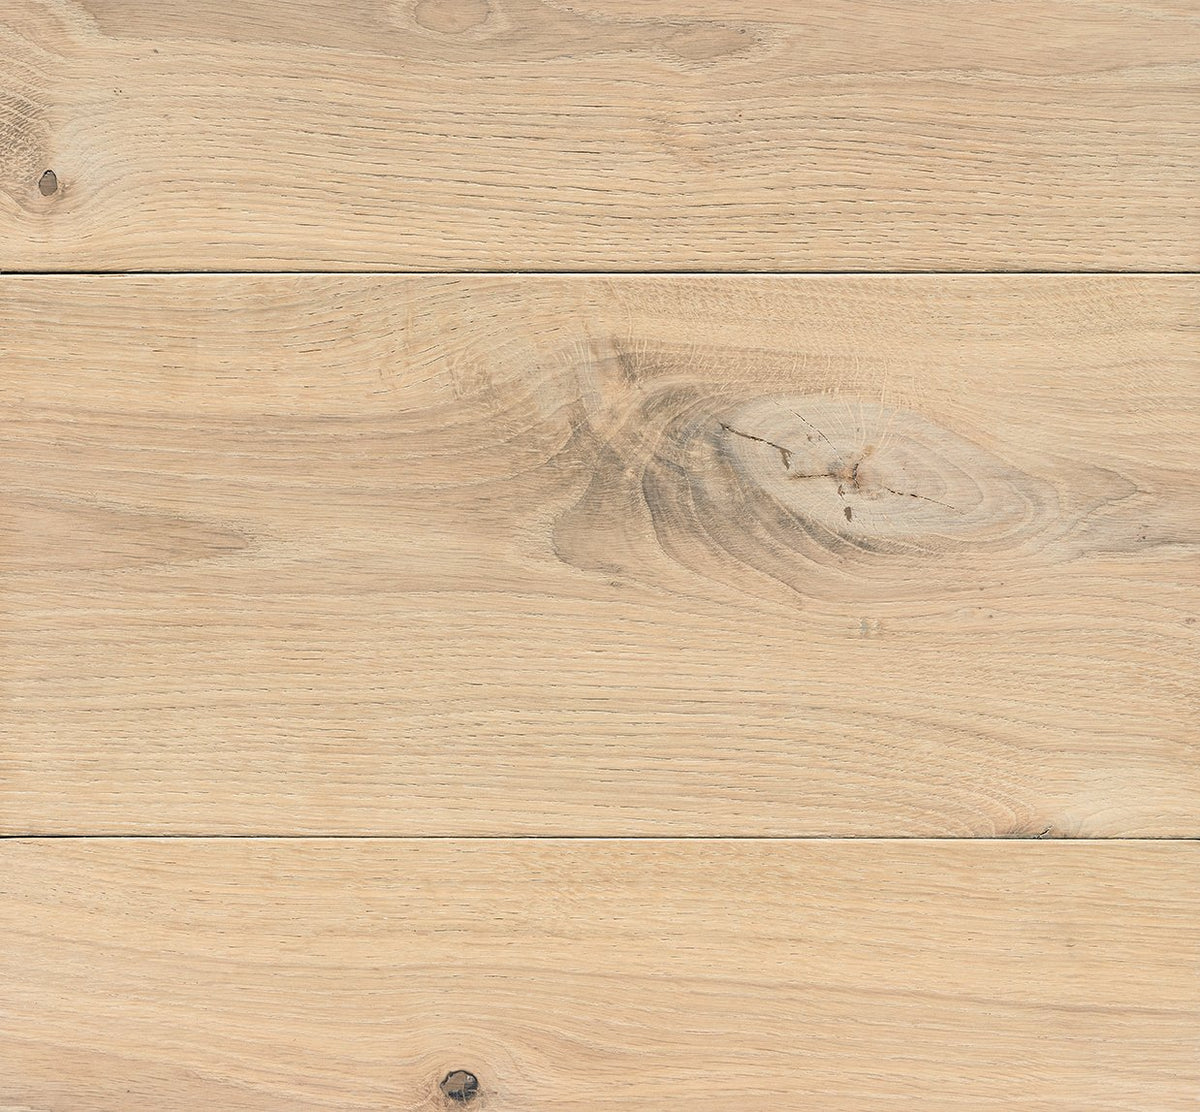
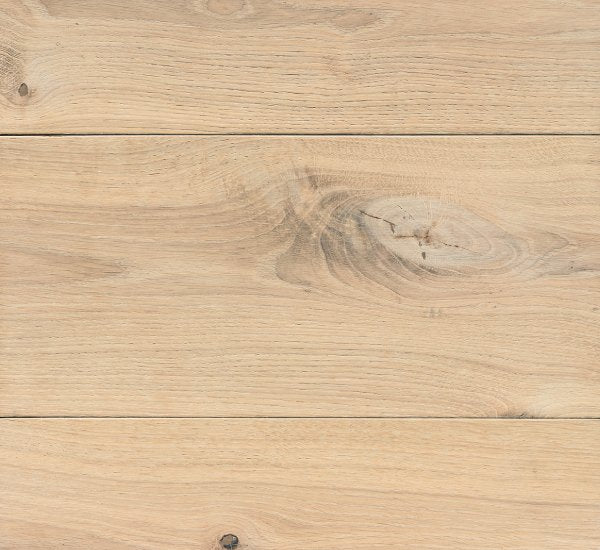
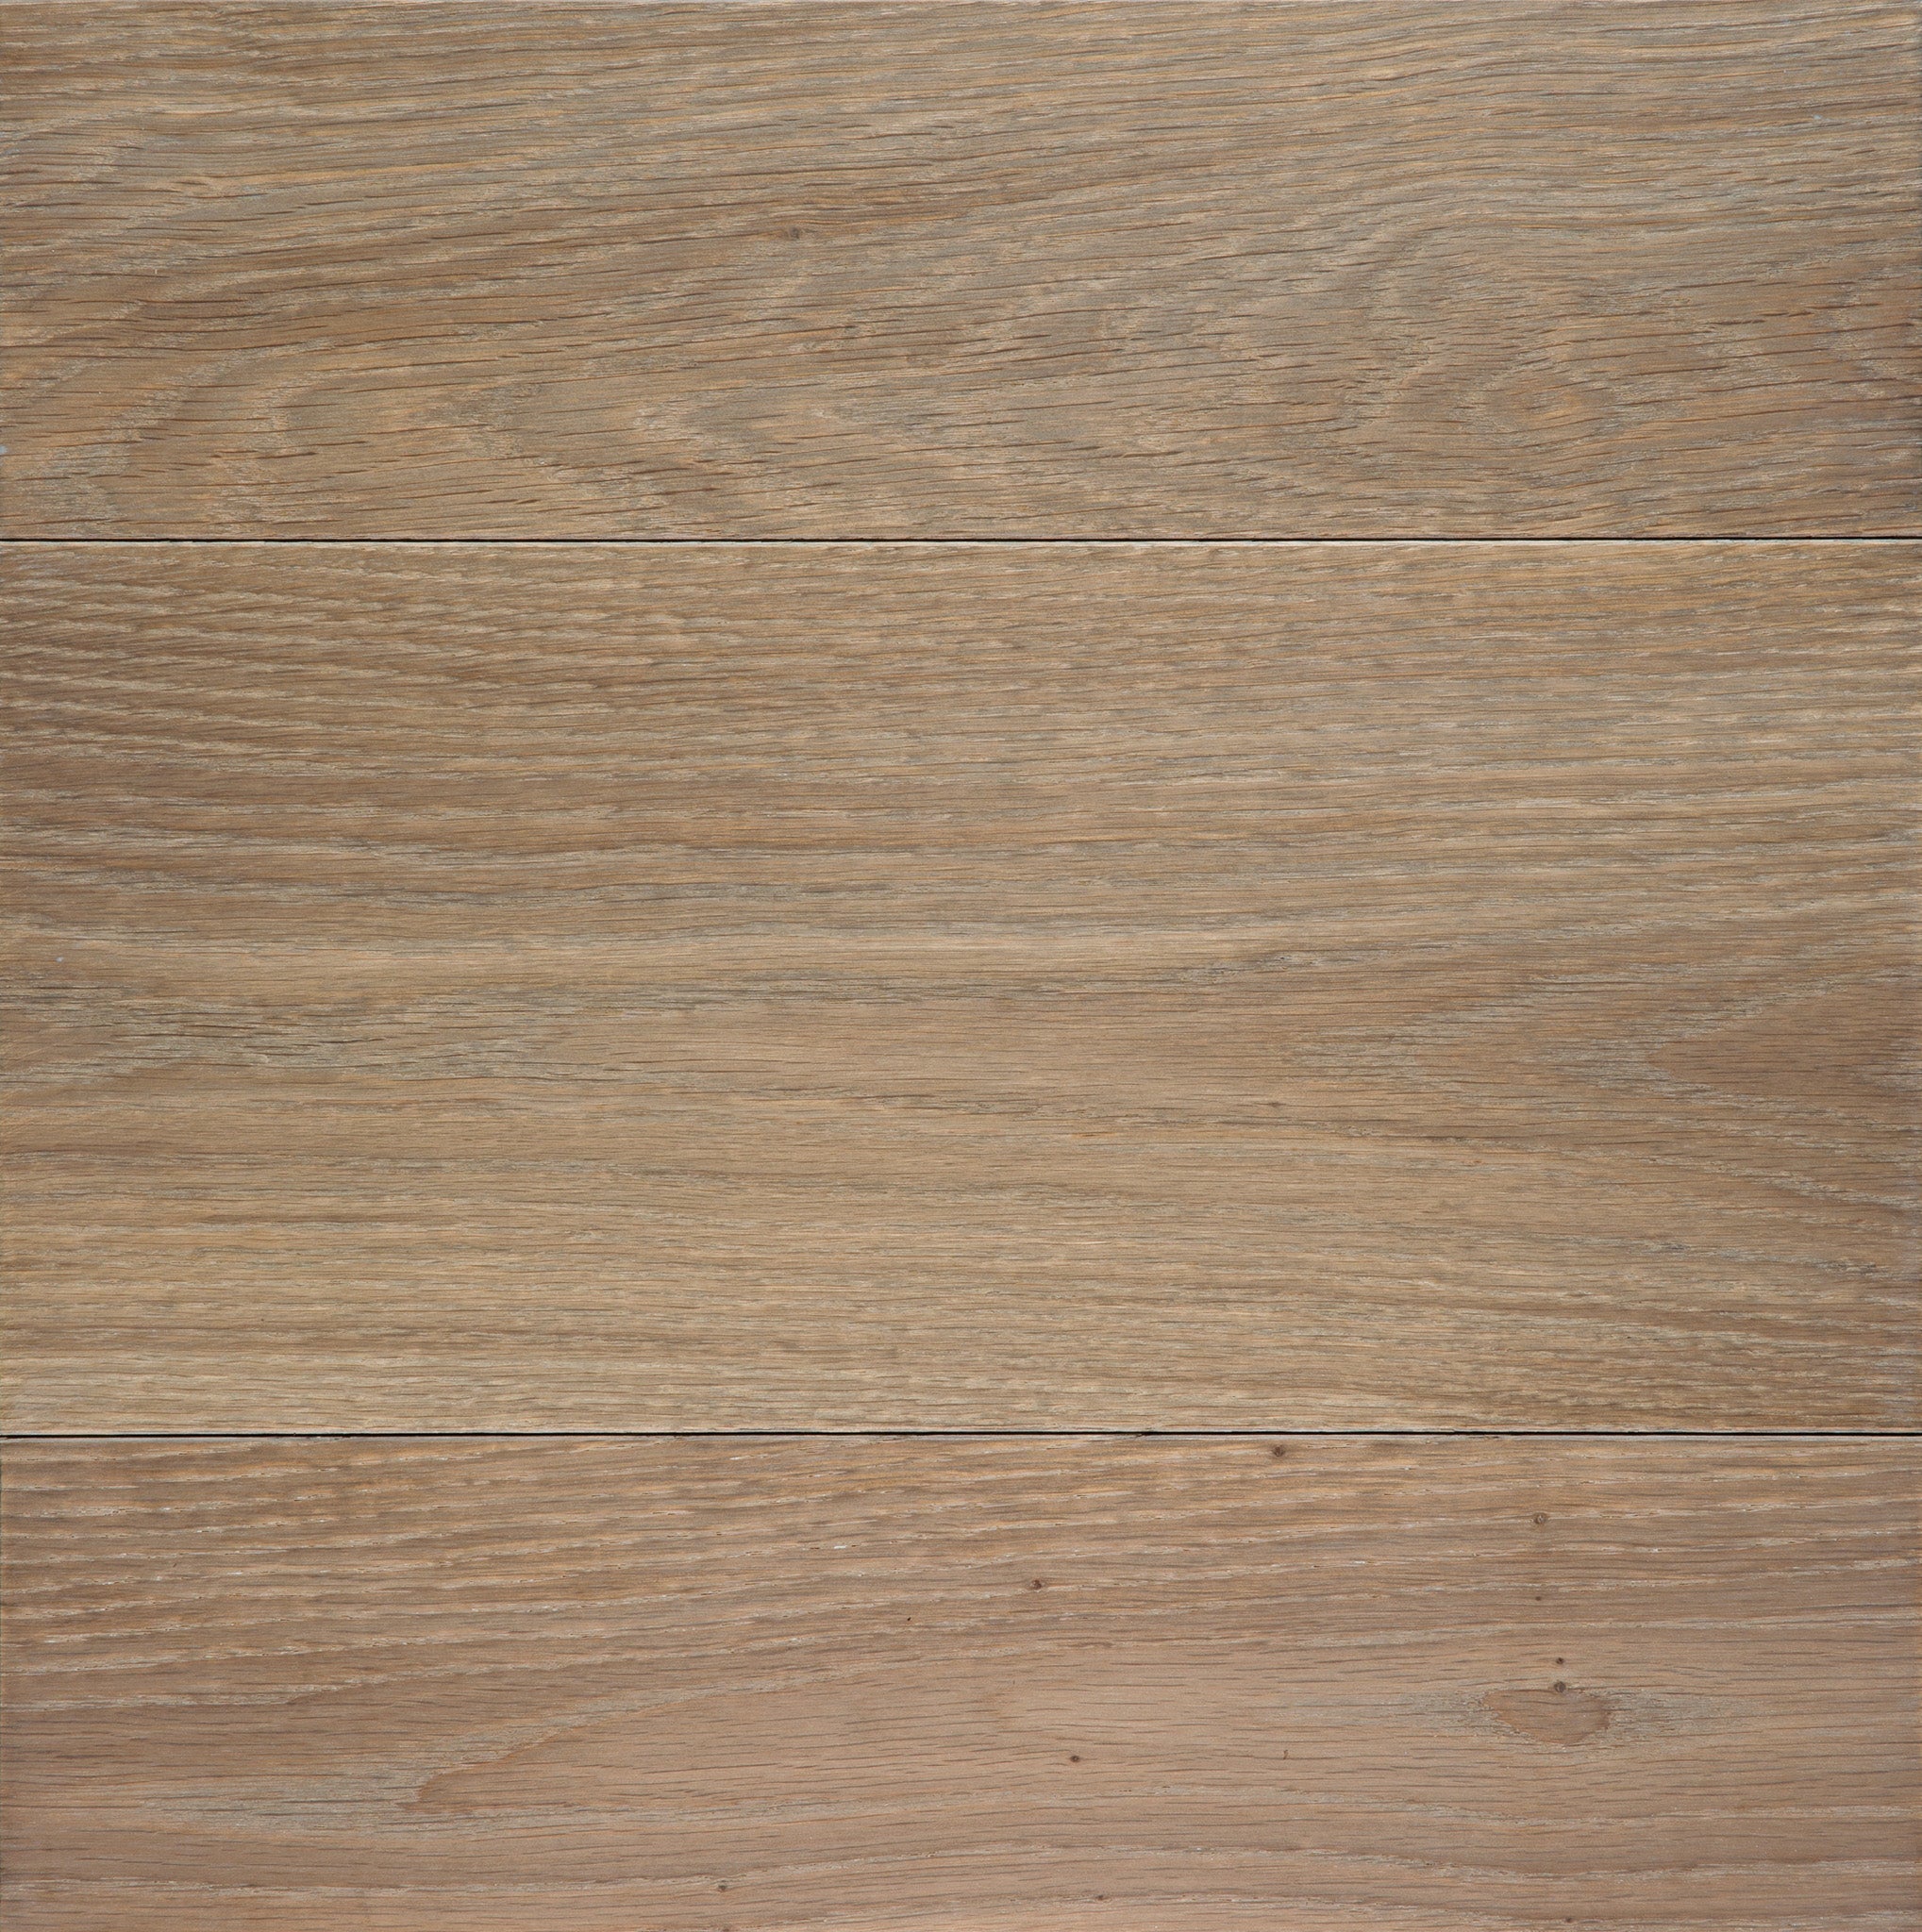
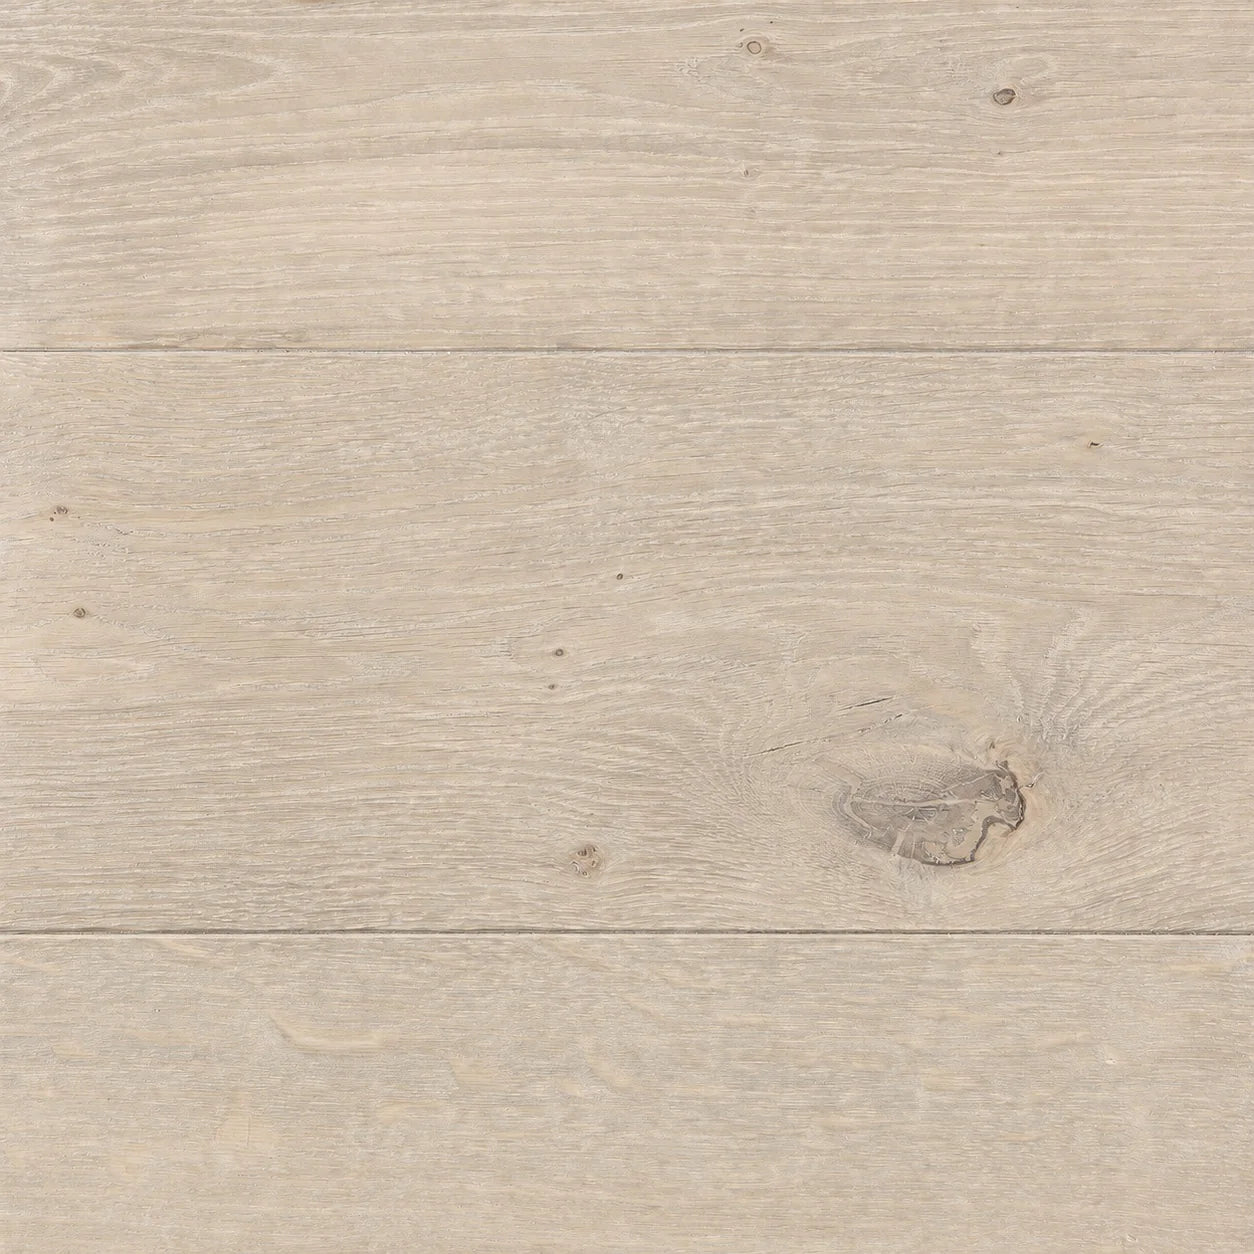
Restrained shifts that preserve a light, calm reading of the grain.


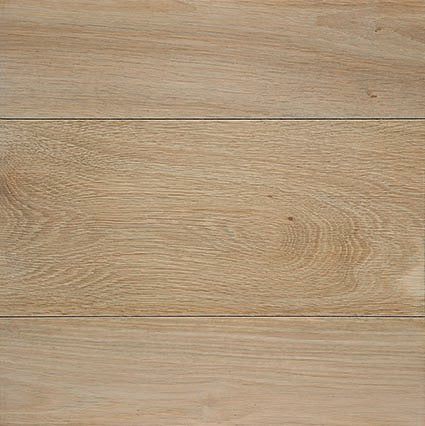
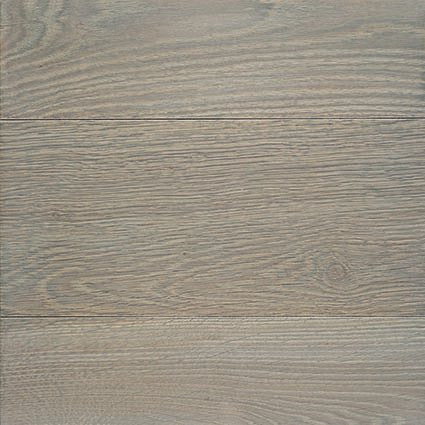
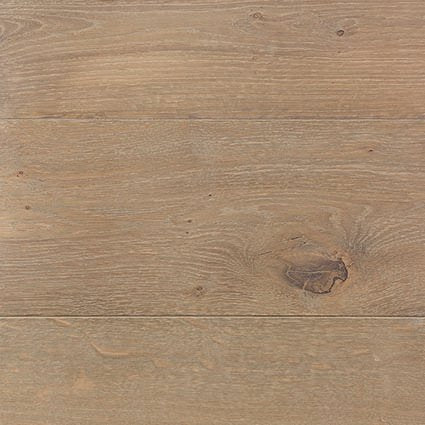
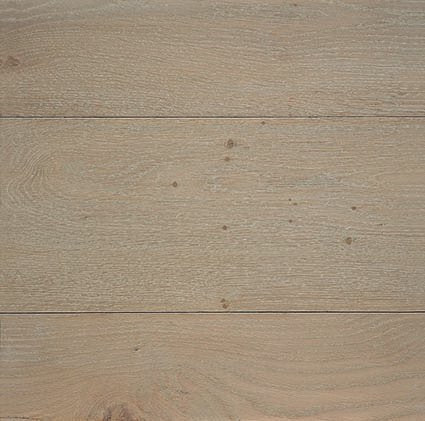

Professional reactive color system
Authentic color from within the wood
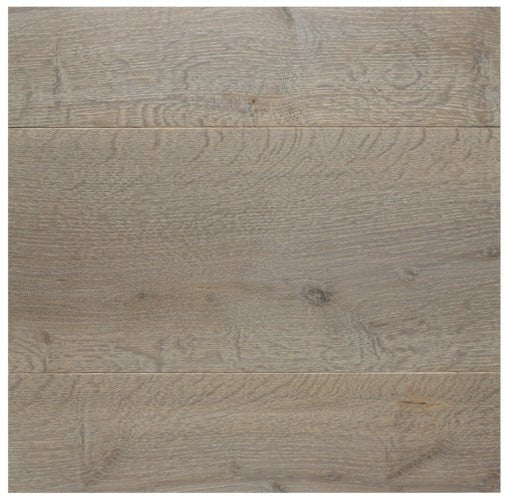
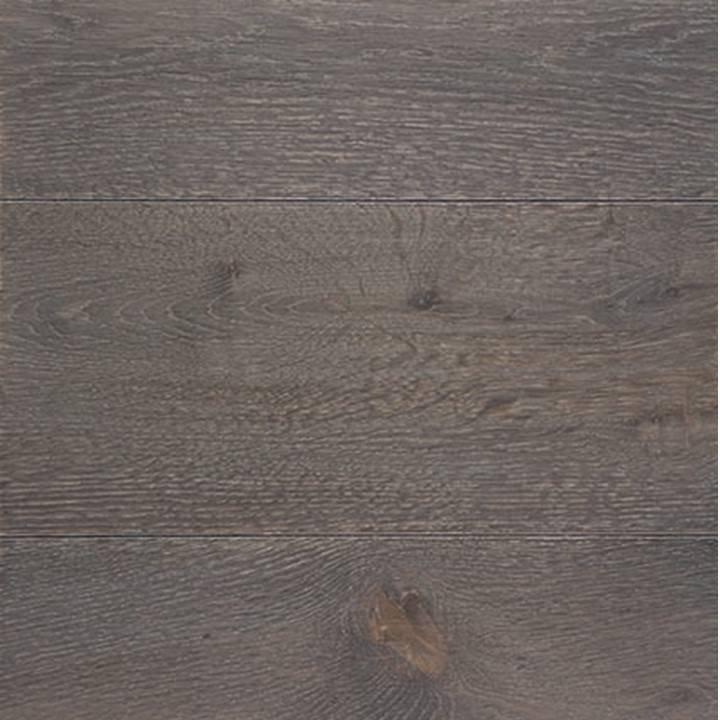
Creates aged depth by reacting with natural tannins—without masking the grain under a flat pigment layer.
Results vary by wood species and board. For a first project, test the 100 ml size on the exact wood you will finish.
Free shipping on orders $99+ · Contiguous U.S. only
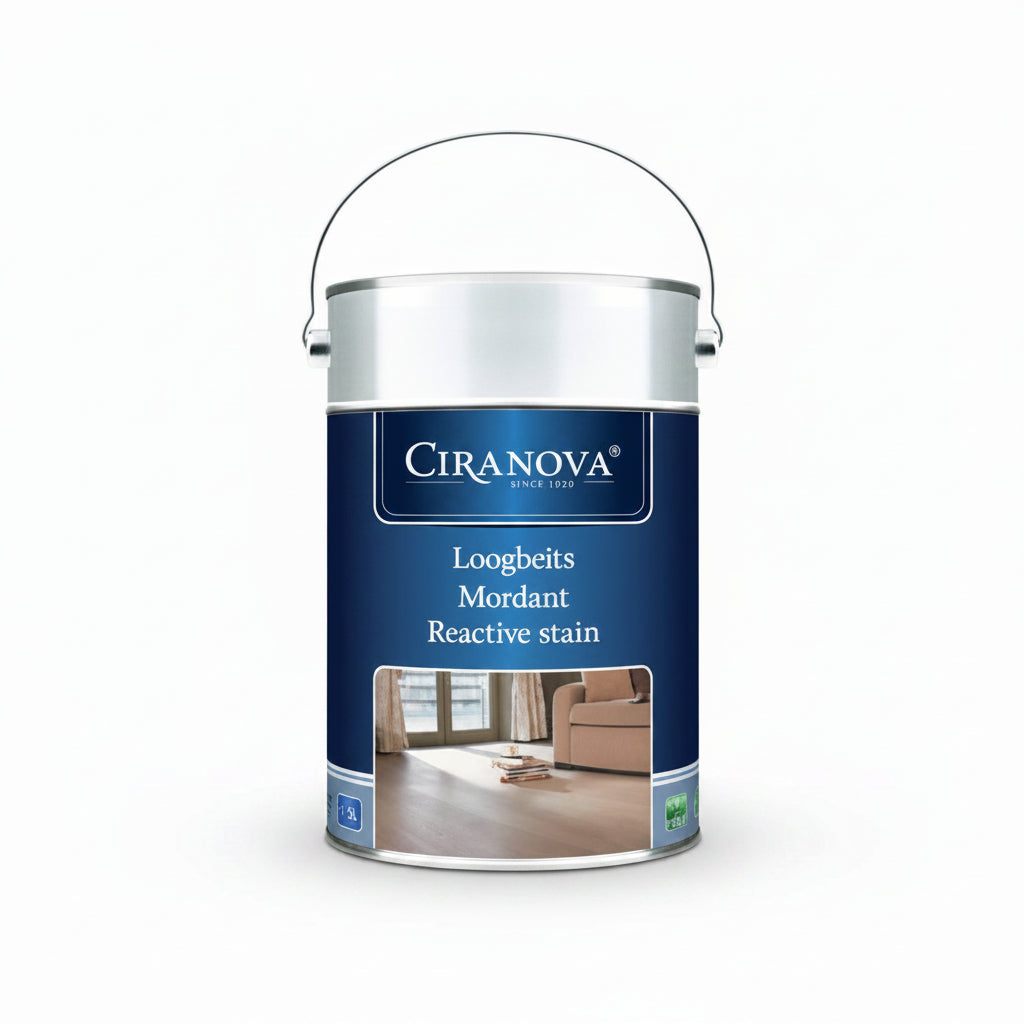
Ciranova Reactive Stain is a premium, waterborne reactive wood stain designed to create authentic, aged finishes by chemically reacting with the natural tannins in wood. Ideal for achieving vintage, weathered looks on white oak, red oak and other tannin-rich woods like walnut, this stain penetrates deeply to highlight the wood's grain and texture without obscuring its natural beauty. Unlike traditional stains, it doesn't just sit on the surface—it interacts with the wood for a durable, non-fading color that evolves.
Always topcoat with a protective oil or varnish, such as Ciranova Hardwaxoil Magic, for enhanced durability and water resistance.
Whether you're refinishing furniture, cabinetry, or hardwood floors, Ciranova Reactive Stain delivers professional-grade aging effects that mimic years of natural patina in just one application.
REACTIVE STAIN
Professional wood finishing
The final result depends on the wood, preparation, application, and compatible finishing system. Remove uncertainty before the full project.
Species, tannin content, grain, and sanding can materially change color and absorption.
Confirm coverage, number of coats, hardener ratio, tools, and site conditions before ordering.
Use the current preparation, application, drying, and maintenance instructions for the selected product.
THE COLOR DECISION
Reactive color is shaped by the wood beneath it. Begin with the atmosphere you want, then test that direction on the exact species and preparation planned for the project.
Start with intent
A
Restrained shifts that preserve a light, calm reading of the grain.
B
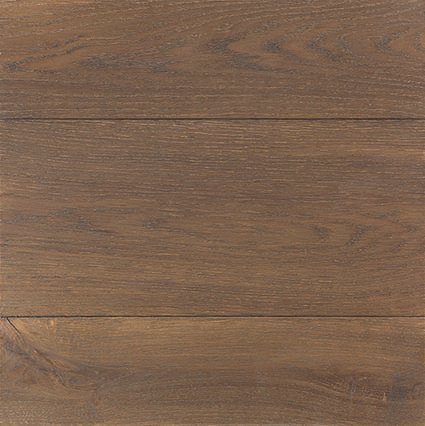
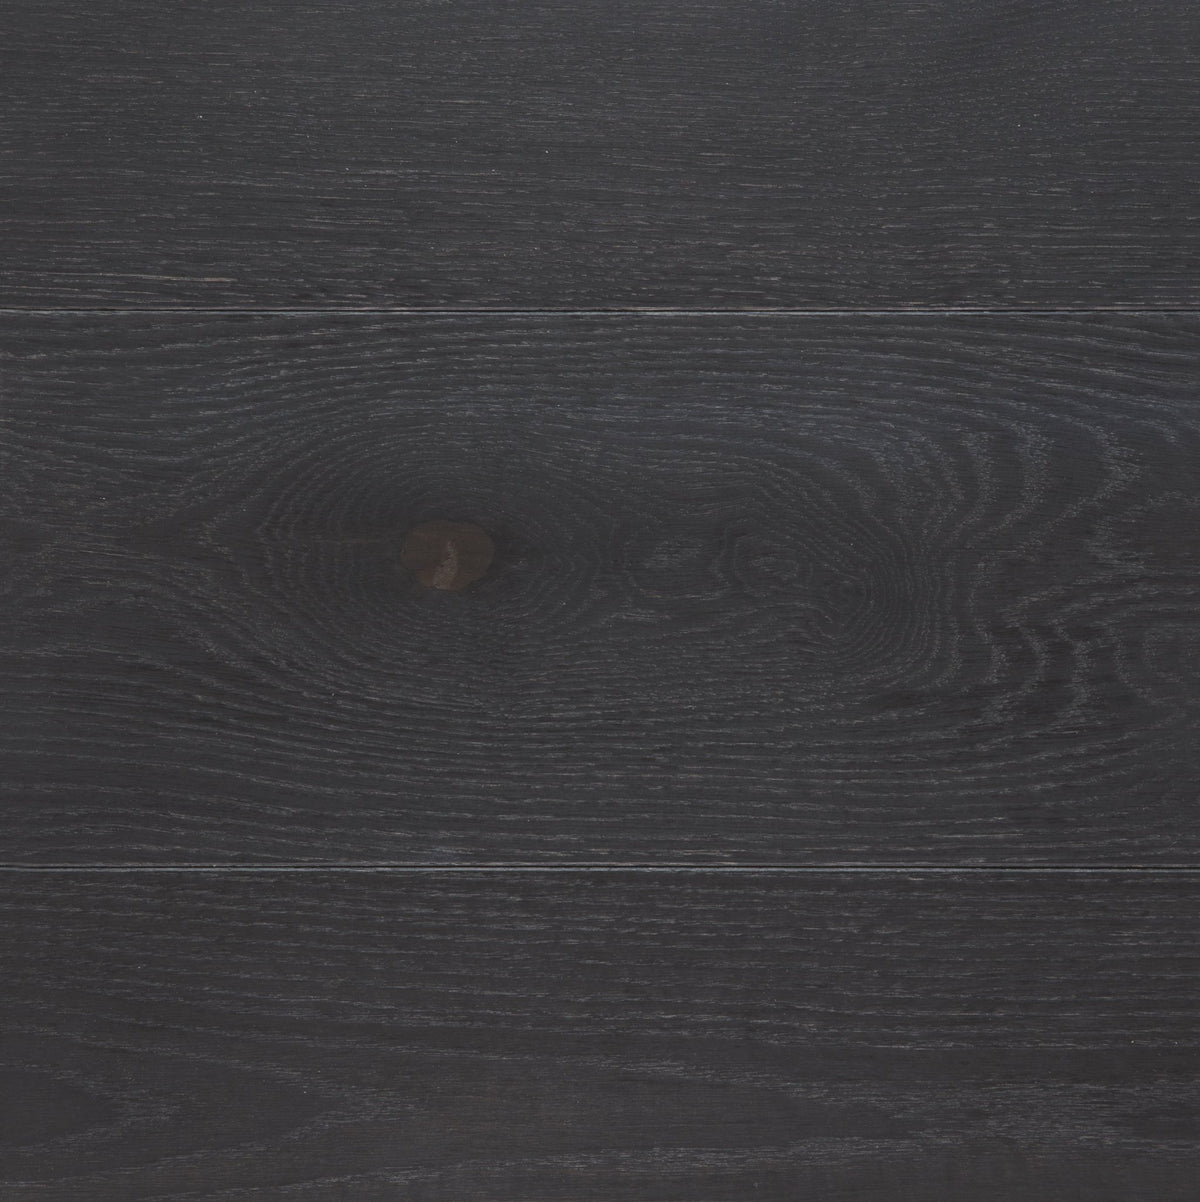
Layered grey-brown character with an established, material presence.
C
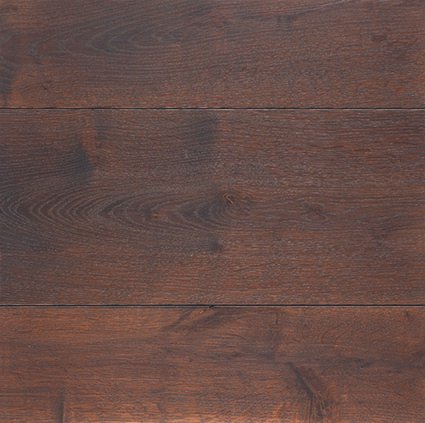
Stronger reactions for tonal depth, contrast and a more expressive surface.
WHY REACTIVE COLOR LOOKS DIFFERENT
Reactive Stain works with natural tannins instead of masking the grain under a flat layer of pigment. The result is nuanced, dimensional and unique to the exact wood beneath it.
 Before · Prepared oak
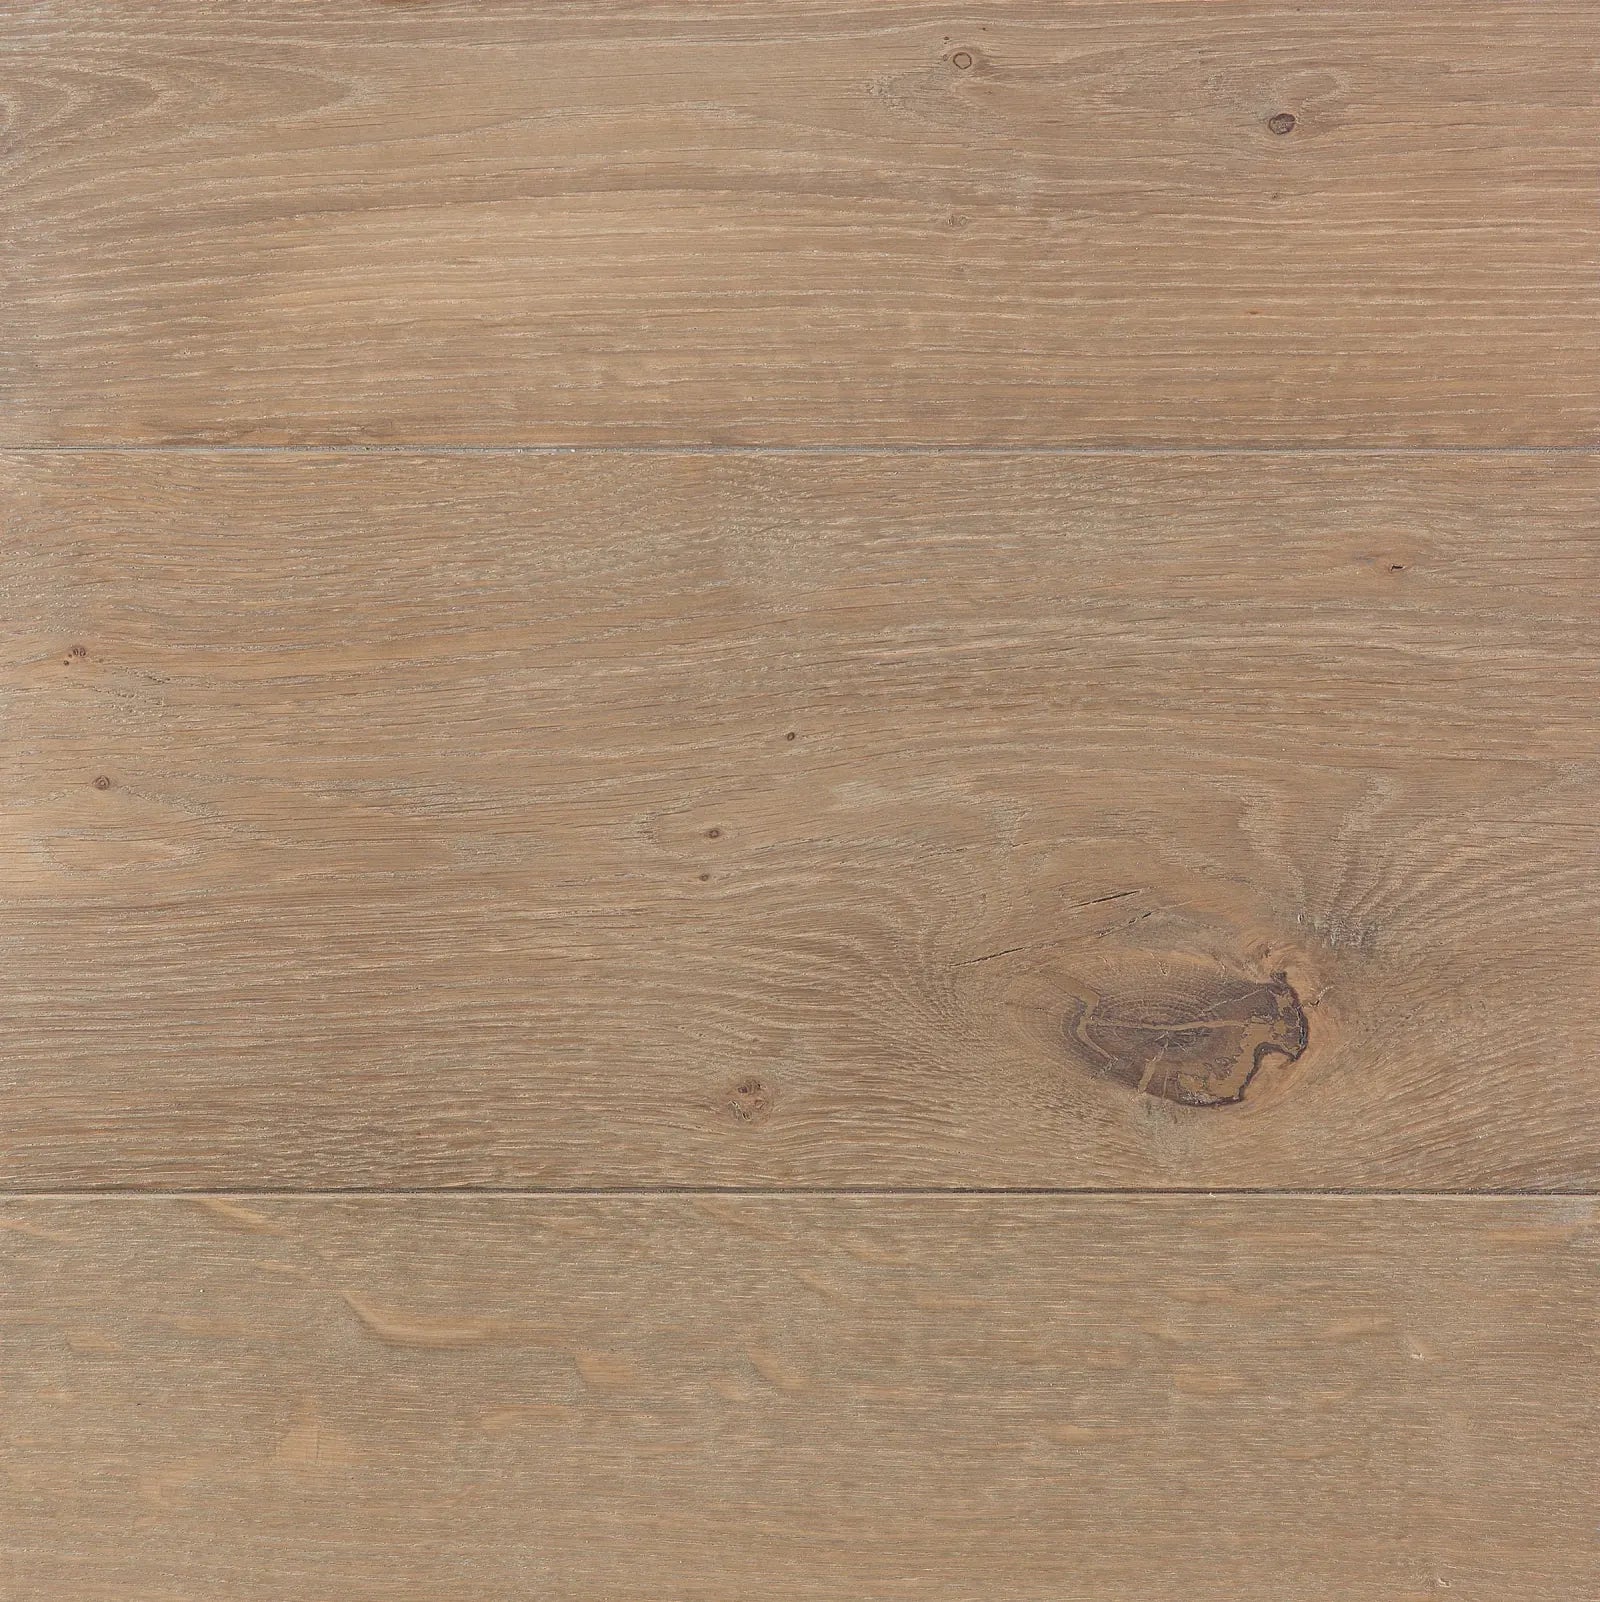 After · Reactive depth
The Ciranova system
Create an even, receptive surface so every board develops consistently.
Application guidanceLet tannins and chemistry create color from within the natural grain.
Choose your colorComplete the system with an oil or invisible finish selected for the project.
Explore protection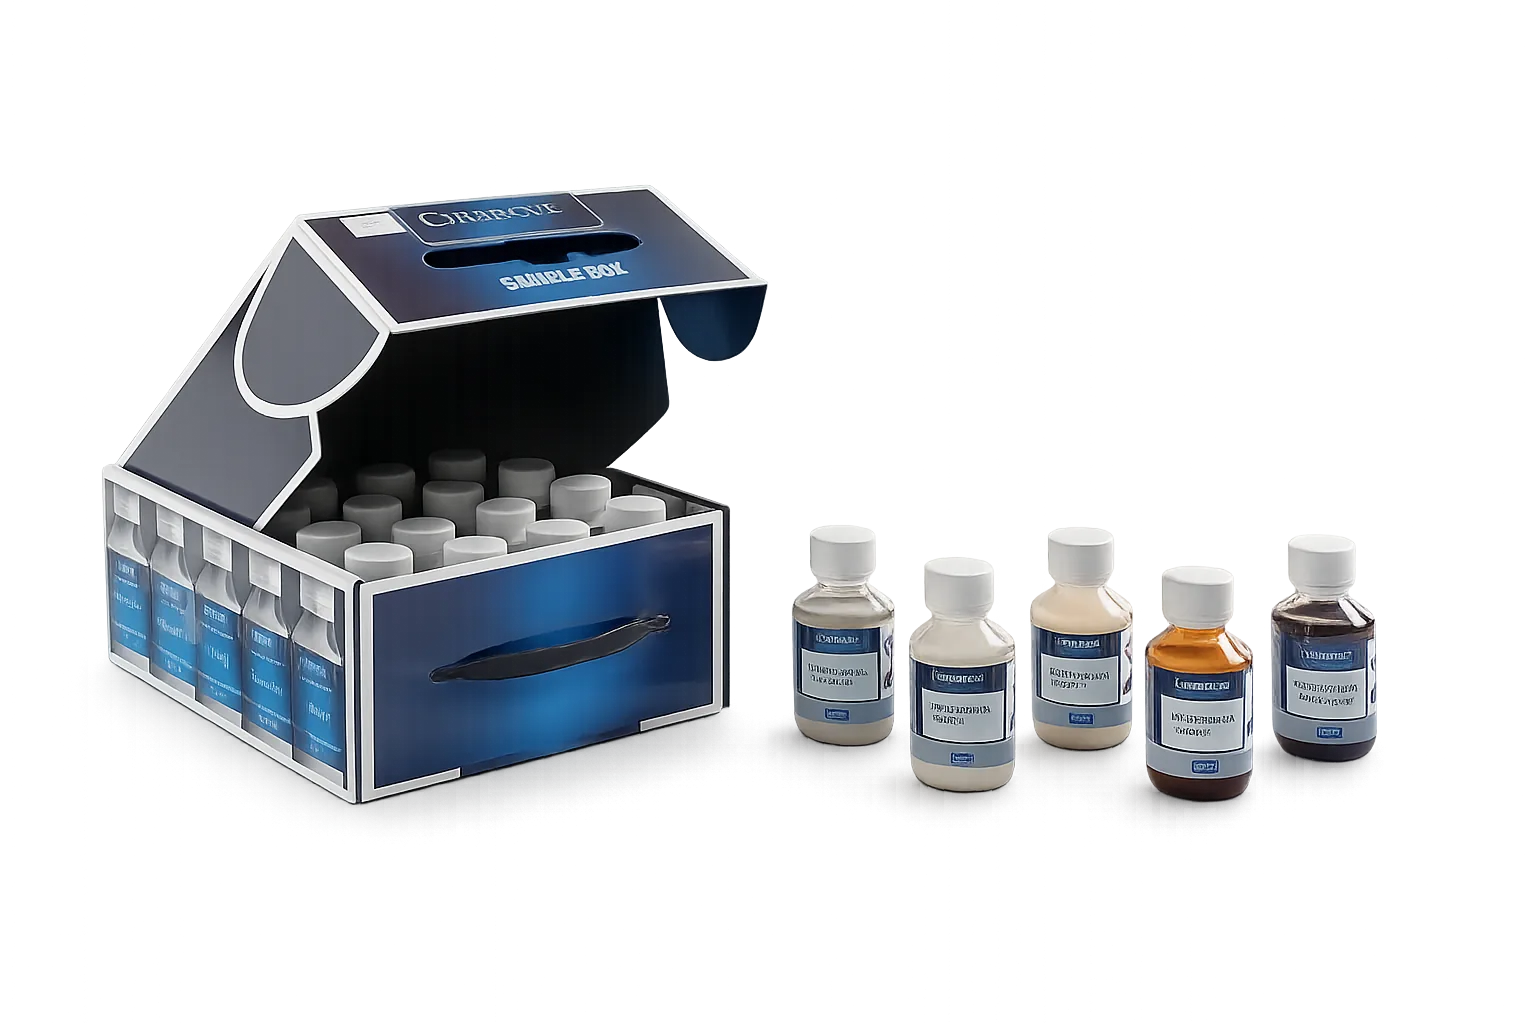
Two-stage finishing system
Reactive Stain creates the color; a compatible topcoat provides the protection. Follow these steps in order for a controlled, repeatable result.
Complete the color system with a compatible protective finish selected for the substrate and intended use. Follow the current Technical Data Sheet for the selected finish.
Maintain the completed surface with products and intervals appropriate to the final protective finish. Follow the maintenance guidance for the system used.
If you have any questions, you are always welcome to contact us. We'll get back to you as soon as possible, within 24 hours on weekdays.
Shipping Information
Ships within 1-2 business days. Expedited options available at checkout page.
Customer Support
Available during weekdays, sms, chat, email and phone.
Contact Us
Monday - Friday: 8am - 5pm (CT)
Call & Text(786) 460 7588 (English & Spanish)
order@ciranovastore.com
REACTIVE STAIN · Color portfolio
Color shifts with species, sanding, application rate, and light. Explore the complete portfolio, then test the selected finish on the actual project wood.
Ciranova Reactive Stains are tannin-reactive stains that create color by chemically reacting with the natural tannins in wood, rather than simply depositing pigment like a conventional stain. This reaction helps produce nuanced, “in-the-wood” tones and depth.
Traditional stains mainly rely on pigments/dyes soaking into the wood. Reactive stains transform the wood’s chemistry, so the final look depends more on the wood species, tannin content, and surface prep. This is why reactive stains can look especially natural—but also more variable.
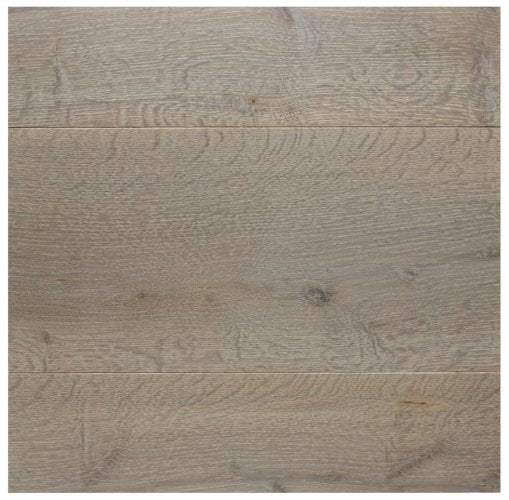
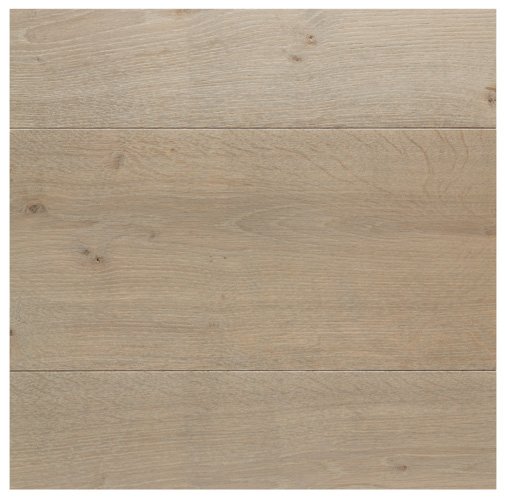
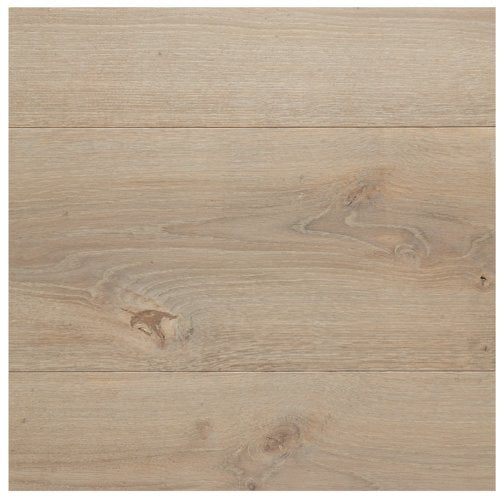
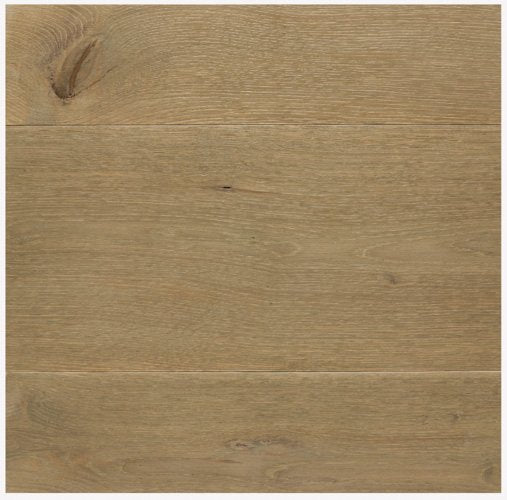
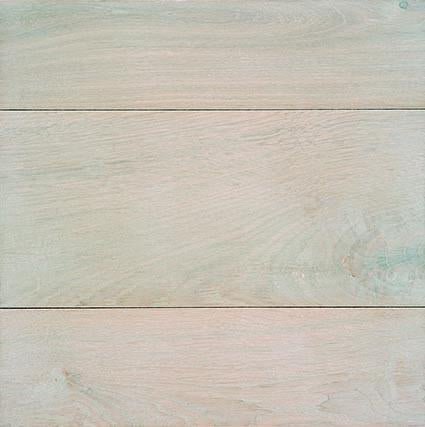
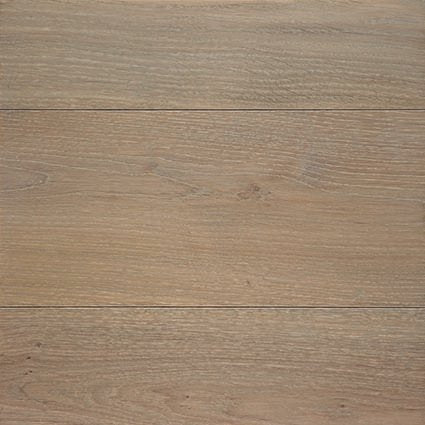
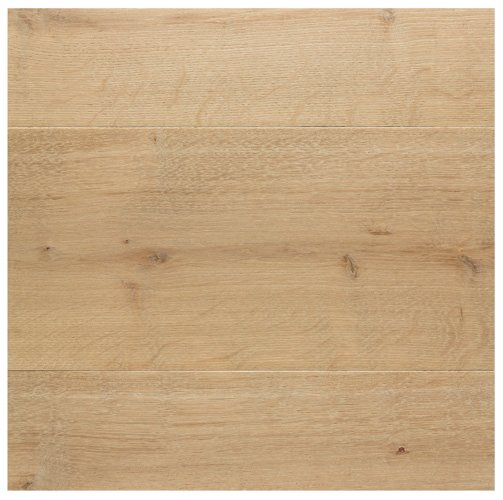
No. Because the stain reacts with tannins, species-to-species variation is normal. Even within the same species, boards can vary due to tannin levels, grain density, and mineral content. The pictures posted here were applied on european white oak.
Yes. Knots, sapwood, fillers, and glue areas can react and absorb differently, creating contrast. This is normal—and why testing on “real-world” boards matters.
Most users apply with a professional stain applicator, pad, brush, or microfiber method suited to the job size—then work it evenly to avoid overlaps. Always follow the product’s technical directions for your specific reactive stain.
Work in manageable sections.
Keep a wet edge.
Apply consistently (same tool, same pressure, same pace).
Avoid stopping mid-board or mid-field when possible.
Maintain consistent lighting so you can see wet edges.
GUIDED SELECTION
Two decisions are enough to reach the right product family. Start with the surface, then choose the result.
Always test the complete system on your wood before the full application.